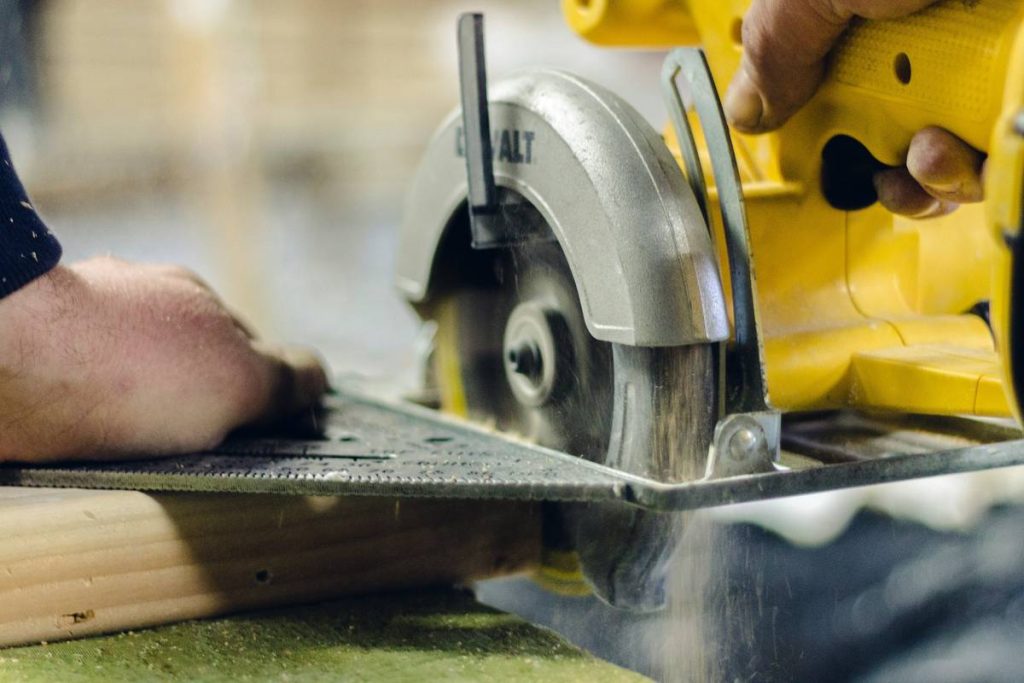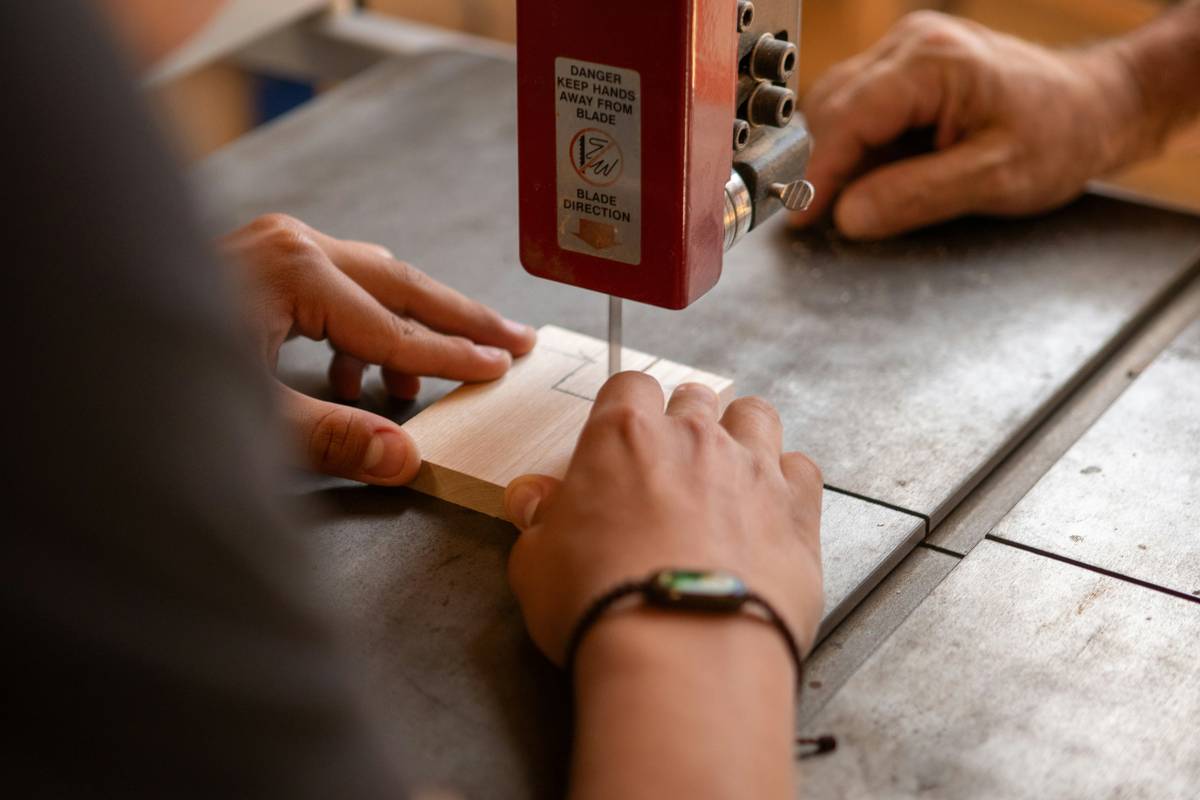
Ever bought a saw thinking it was perfect for your first woodworking project—only to end up with splintered boards, crooked cuts, and a bruised ego? You’re not alone. Many beginners jump into woodworking without understanding that the right saw isn’t just about sharp teeth—it’s about matching tool geometry, blade type, and user control to your actual skill level. This guide cuts through the noise (and bad advice) to help you choose and use a saw for woodworking for beginners safely and effectively. We’ll cover everything from key features to common blunders—and even share a hard-earned lesson from my own workshop.
Table of Contents
- Why the Right Saw Matters in Home Improvement
- Step-by-Step Guide to Choosing Your First Saw
- Best Practices for Safe and Clean Cuts
- Real-World Results: DIY Shelving Case Study
- Frequently Asked Questions
Key Takeaways
- A beginner’s saw should prioritize control over power—cordless jigsaws or Japanese pull saws are ideal starters.
- Blade tooth count (TPI) dramatically affects cut smoothness; 10–14 TPI is best for general-purpose wood.
- Never force a saw through material—let the blade do the work to avoid binding and kickback.
- Your first purchase doesn’t need to be expensive, but avoid ultra-cheap no-name brands.
Why the Right Saw Matters in Home Improvement
In home improvement, especially under the DIY Projects umbrella, precision equals confidence. A poorly chosen saw can turn a simple shelf build into a weekend of frustration—or worse, injury. According to the U.S. Consumer Product Safety Commission, over 50,000 table saw injuries occur annually, many involving inexperienced users (CPSC). But it’s not just about safety: the wrong blade creates tear-out, splintering fine plywood and softwoods alike.
I learned this the hard way. On my first bookshelf project, I used an old contractor-grade circular saw with a 24-tooth framing blade—meant for rough lumber, not finish work. The result? Jagged edges that required hours of sanding, and one board split clean in half. Had I known then what I know now about TPI (teeth per inch) and kerf width, I’d have saved both wood and sanity.

Step-by-Step Guide to Choosing Your First Saw
1. Determine Your Primary Use Case
Are you cutting straight lines for shelves? Curves for decorative trim? Most beginners start with crosscuts and rip cuts on dimensional lumber or plywood. For this, a miter saw or circular saw works—but if you’re nervous about power tools, begin with a high-quality handsaw like a Japanese dozuki.
2. Prioritize Safety Features
Look for electric brakes, blade guards, and ergonomic grips. Cordless models reduce tripping hazards—ideal for garage or basement workshops.
3. Match Blade to Material
General-purpose wood blades range from 10 to 14 TPI. Higher TPI = smoother cut but slower feed rate. Avoid blades labeled “multipurpose” unless verified by trusted reviews—they often compromise performance.
4. Test Before You Buy (If Possible)
Visit a local hardware store or borrow from a friend. Weight, balance, and vibration matter more than specs on paper.
Best Practices for Safe and Clean Cuts
- Let the saw reach full speed before contacting wood—especially with circular or jigsaws.
- Use painter’s tape along your cut line to reduce splintering on plywood.
- Clamp your workpiece securely—never hold wood by hand while cutting.
- Clean blades regularly with blade cleaner or oven cleaner to remove pitch buildup (check manufacturer guidelines first).
And here’s a terrible tip you’ll hear online: “Just push harder if the saw stalls.” Wrong. Forcing a blade causes overheating, warping, and dangerous kickback. If your saw struggles, check the blade sharpness or switch to a lower-TPI option for faster removal.
Real-World Results: DIY Shelving Case Study
Last spring, a neighbor asked me to help build floating shelves for her nursery. We chose 1×12 pine boards and a $99 cordless jigsaw with a 10-TPI wood blade. Following our checklist—clamping, tape, steady pressure—we achieved clean, square cuts on all six shelves in under two hours. Post-project feedback: “I actually enjoyed using the saw!” Compare that to her previous attempt with a dull reciprocating saw (not designed for precision), which left ragged edges requiring extensive patching.
For authoritative guidance on tool selection, consult the Occupational Safety and Health Administration’s woodworking standards (OSHA), which emphasize blade maintenance and user training—even for hobbyists.
Frequently Asked Questions
What’s the safest saw for absolute beginners?
Japanese pull saws (like the Dozuki) offer excellent control, minimal vibration, and require no electricity—ideal for learning grain direction and cutting mechanics.
Can I use a metal-cutting blade on wood?
No. Metal blades have fewer, harder teeth spaced differently. Using them on wood causes burning, rough cuts, and rapid dulling.
How often should I replace my saw blade?
When cuts become rough despite clean feed, or when you notice chipped carbide tips. With moderate DIY use, expect 6–12 months per blade.
Is a table saw necessary for beginners?
Not at all. Table saws demand significant space, setup, and respect. Start with handheld options—you’ll build skills safer and cheaper.
Where can I learn proper technique?
Check out free tutorials from the Woodworker’s Guild of America or visit our About Us page to learn how our team blends automotive precision with home craftsmanship.
Do you offer personalized tool advice?
Absolutely—reach out via our Contact Us page. And don’t worry: we follow strict data practices outlined in our Privacy Policy.
Choosing the right saw for woodworking for beginners isn’t about owning the fanciest tool—it’s about building confidence, one clean cut at a time. Stick to these principles, avoid the rookie traps, and soon you’ll look back at your first wobbly cut with a smile… and a perfectly sanded bookshelf to show for it. Ready to start? Contact us—we’re happy to point you toward reliable starter kits.
Measure twice, cut once—and breathe easy knowing your saw’s got your back.