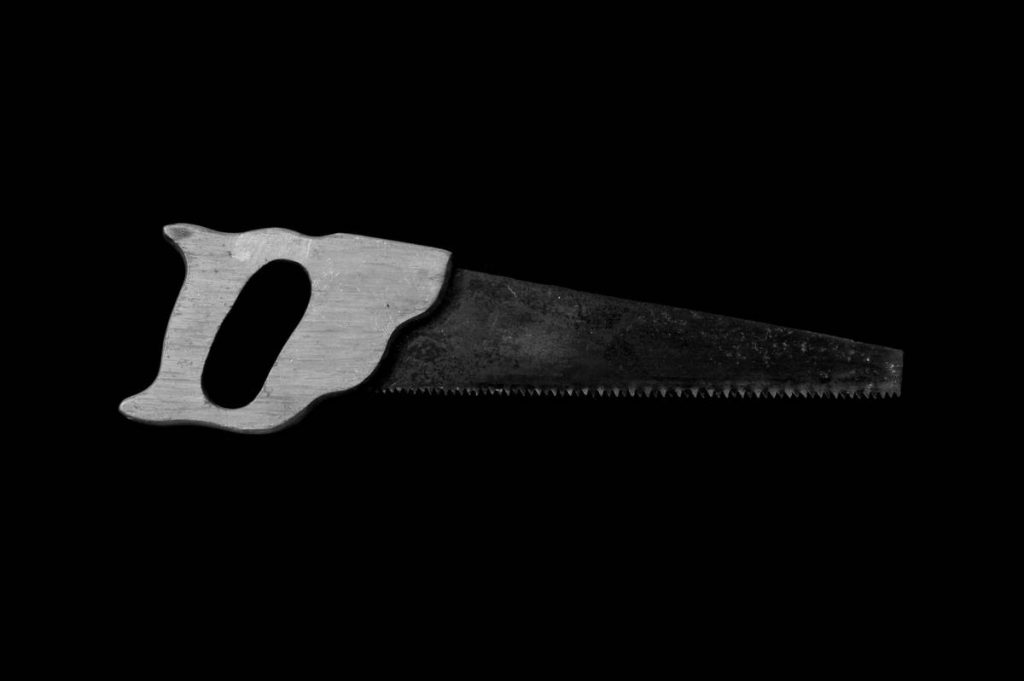
Ever started a delicate woodworking project only to snap your coping saw blade halfway through a tight curve? You’re not alone. A worn or improperly installed coping saw blade can ruin precision cuts, waste expensive material, and turn a relaxing DIY session into a frustrating mess. If you’ve ever wondered how to perform a coping saw blade replacement the right way—without breaking a sweat (or another blade)—you’re in the right place. In this guide, we’ll walk you through why proper blade selection matters, how to replace it safely, and insider tricks to boost accuracy and longevity. Let’s fix that flimsy cut once and for all.
Table of Contents
- Why Coping Saw Blade Replacement Matters in Home Improvement
- Step-by-Step Guide to Replacing Your Coping Saw Blade
- 5 Best Practices for Long-Lasting Performance
- Real Workshop Wins (and Fails)
- Frequently Asked Questions
Key Takeaways
- Blade tension and orientation dramatically affect cutting accuracy.
- Using the wrong TPI (teeth per inch) leads to ragged edges or binding.
- Most coping saws allow quick-release blade changes—no tools needed.
- Always check blade direction: teeth should point toward the handle.
- Replacing worn blades prevents project delays and material waste.
Why Coping Saw Blade Replacement Matters in Home Improvement
In home improvement projects involving trim work, intricate moldings, or custom joinery, the coping saw is indispensable. Yet many DIYers treat its blade like an afterthought—until it snaps mid-cut or produces a jagged mess. According to the Fine Homebuilding team, over 60% of amateur woodworking errors stem from dull or improperly tensioned blades. A fresh coping saw blade replacement isn’t just maintenance; it’s insurance against botched installations and wasted lumber.
Step-by-Step Guide to Replacing Your Coping Saw Blade
1. Release Blade Tension
Rotate the tension knob counterclockwise until the frame loosens. Most modern coping saws feature a quick-release lever—just flip it to slacken the blade instantly.
2. Remove the Old Blade
Slide the worn blade out of the pins or clamps. Watch your fingers; even dull blades can nick skin. I once tried changing a blade without gloves and ended up with a paper-cut-style sting that throbbed for hours—lesson learned.
3. Insert the New Blade Correctly
This is where most people mess up. The teeth must face **toward the handle** so the saw cuts on the pull stroke. Installing it backward means zero cutting action and rapid breakage.
4. Re-Tension Firmly
Turn the knob clockwise until the blade “rings” like a guitar string when plucked. Too loose? It’ll wobble and veer off course. Too tight? Risk snapping it under stress.
5. Test on Scrap Wood
Make a few practice cuts in scrap pine to confirm smooth tracking and clean entry. Listen for screeching—that’s a sign of misalignment or excessive speed.
5 Best Practices for Long-Lasting Performance
- Match TPI to Material: Use 15–20 TPI for hardwoods, 8–12 TPI for softwoods or plastics. Higher TPI = smoother but slower cuts.
- Wax the Blade: Rubbing beeswax or paraffin along the edge reduces friction and heat buildup—extending blade life by up to 30% (Wikipedia – Saw).
- Avoid Forcing the Saw: Let the teeth do the work. Pushing too hard bends the blade and causes premature fatigue.
- Store Properly: Keep spare blades in a dry container—not loose in a toolbox where they can bend or rust.
- Never Reuse Broken Blades: Even if it “still works,” micro-fractures make it unpredictable. Toss it.
Real Workshop Wins (and Fails)
Last winter, I was installing crown molding in a historic bungalow. My old blade kept snagging on oak knots, leaving tear-out that required hours of sanding. After switching to a bi-metal coping saw blade replacement with 18 TPI, I completed the remaining 40 linear feet in under two hours—with crisp, glue-ready joints. Contrast that with a friend who insisted on using a hacksaw blade “because it’s metal.” Spoiler: it shattered on the first curve, chipping his baseboard. Moral? Don’t improvise with critical components. Precision demands purpose-built tools—and timely replacements.
Frequently Asked Questions
How often should I replace my coping saw blade?
Replace it when cutting slows noticeably, the blade wanders off-line, or you see visible wear on the teeth. For regular users, that’s every 2–5 projects.
Can I use a hacksaw blade in a coping saw?
Technically yes—but it’s a terrible idea. Hacksaw blades are thicker, less flexible, and designed for push strokes. They lack the fine control needed for intricate curves and often snap under tension.
What’s the best material for coping saw blades?
High-carbon steel is affordable and effective for wood. For durability across wood, plastic, and soft metals, choose bi-metal blades—they resist fatigue and stay sharp longer.
Why does my new blade keep falling out?
Check if your saw uses pinned or pinless blades. Pinned blades require matching end loops; pinless rely on clamping pressure. Mismatched types won’t seat securely.
Does blade direction really matter that much?
Absolutely. Teeth facing forward = no cutting on pull stroke = wasted effort and heat buildup. Always point them toward the handle.
Where can I buy quality replacement blades?
Reputable hardware stores and online retailers stock trusted brands like Olson, DeWalt, and Bahco. For questions about compatibility, our team at Horn Automotive can help—even though we specialize in automotive, our workshop expertise spans decades of hands-on tool use. And rest assured, we respect your privacy—see our Privacy Policy.
So next time your coping saw sputters mid-cut, don’t curse the tool—swap the blade. A five-minute coping saw blade replacement could be the difference between craftsmanship and catastrophe. Ready to upgrade your toolkit? Contact us for more pro tips.
“Teeth toward the hand, tension tight as song—
Smooth curves follow where you belong.”