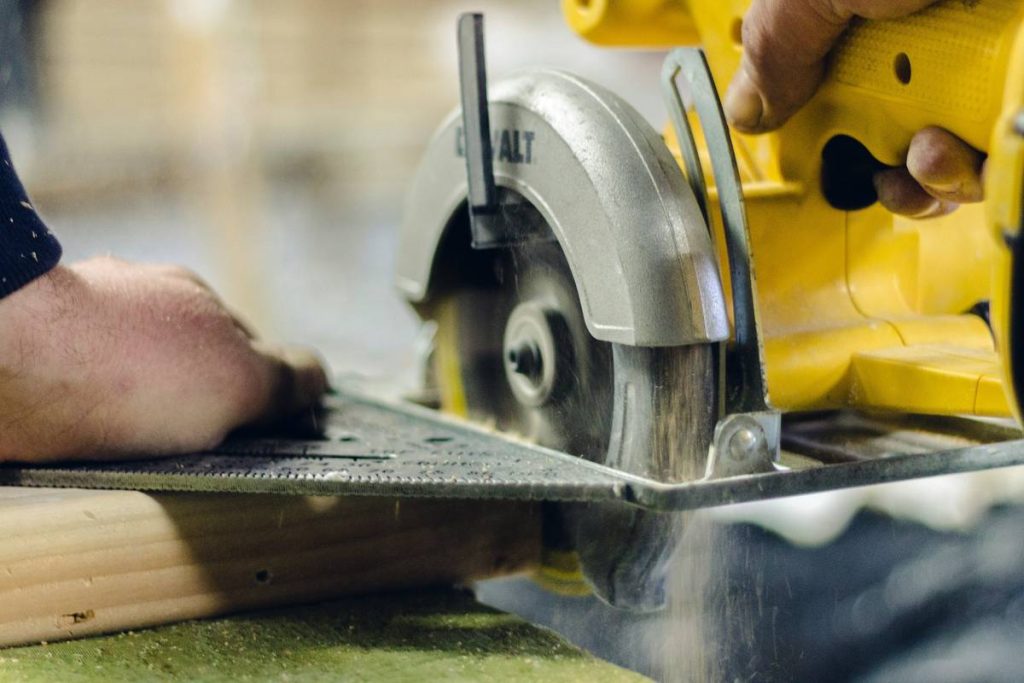
You bought the saw. You marked your cuts. But your DIY project still looks sloppy—burnt edges, wandering lines, splintered corners. Frustrating? Absolutely. And it’s not your fault. Most beginners blame technique when the real culprit is hiding in plain sight: the wrong saw blade. The fix? Mastering the diy project saw blade how to basics most tutorials skip.
Why Your Cuts Keep Failing (It’s Not Your Saw)
Most DIYers grab whatever blade came with their circular saw or miter saw and call it a day. Big mistake. A general-purpose blade might “work”—but it won’t give you clean, precise results on plywood, hardwood, or MDF. And here’s the kicker: using the wrong tooth count or geometry actually makes your saw work harder, generating heat that burns wood and dulls the blade faster.
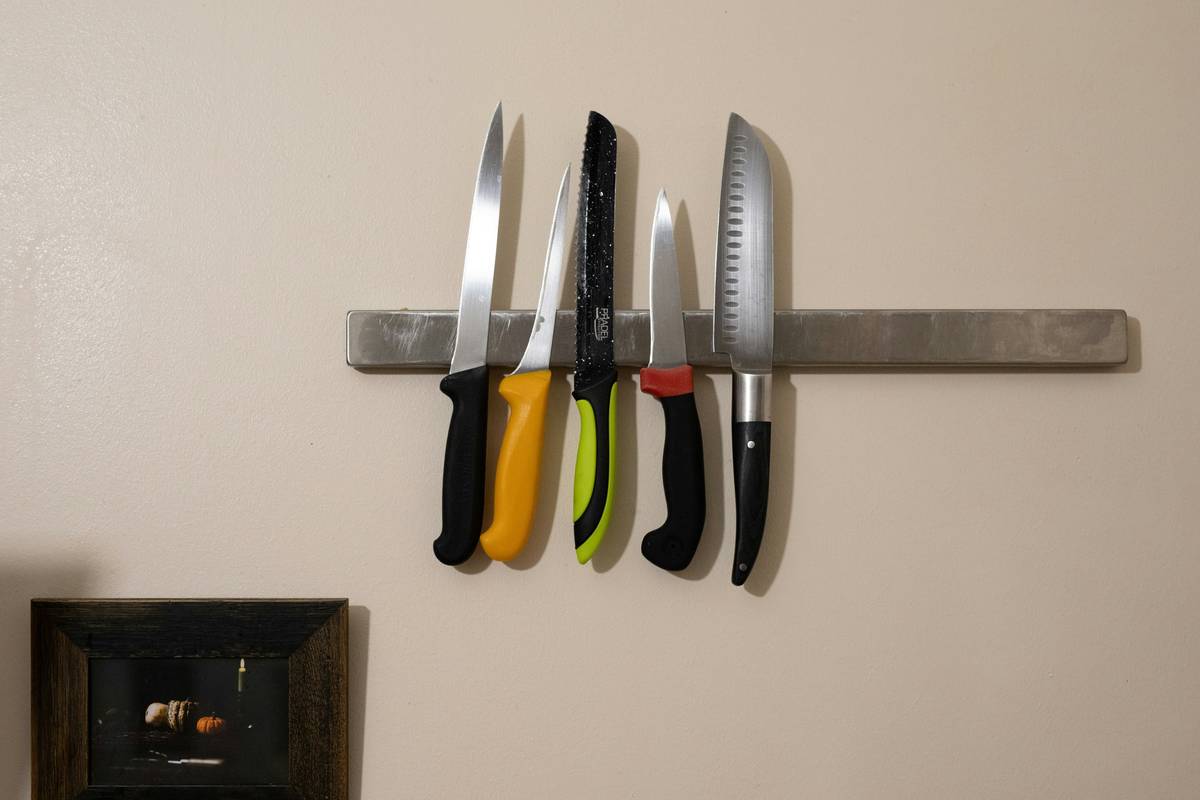
Think about it—would you use a chef’s knife to fillet fish AND chop bones? No. So why treat all saw blades as interchangeable?
DIY Project Saw Blade How To: Step-by-Step Selection & Setup
Picking and installing the right blade isn’t guesswork. It’s a repeatable system. Follow these steps—and never ruin another board.
Match the Material to the Blade Type
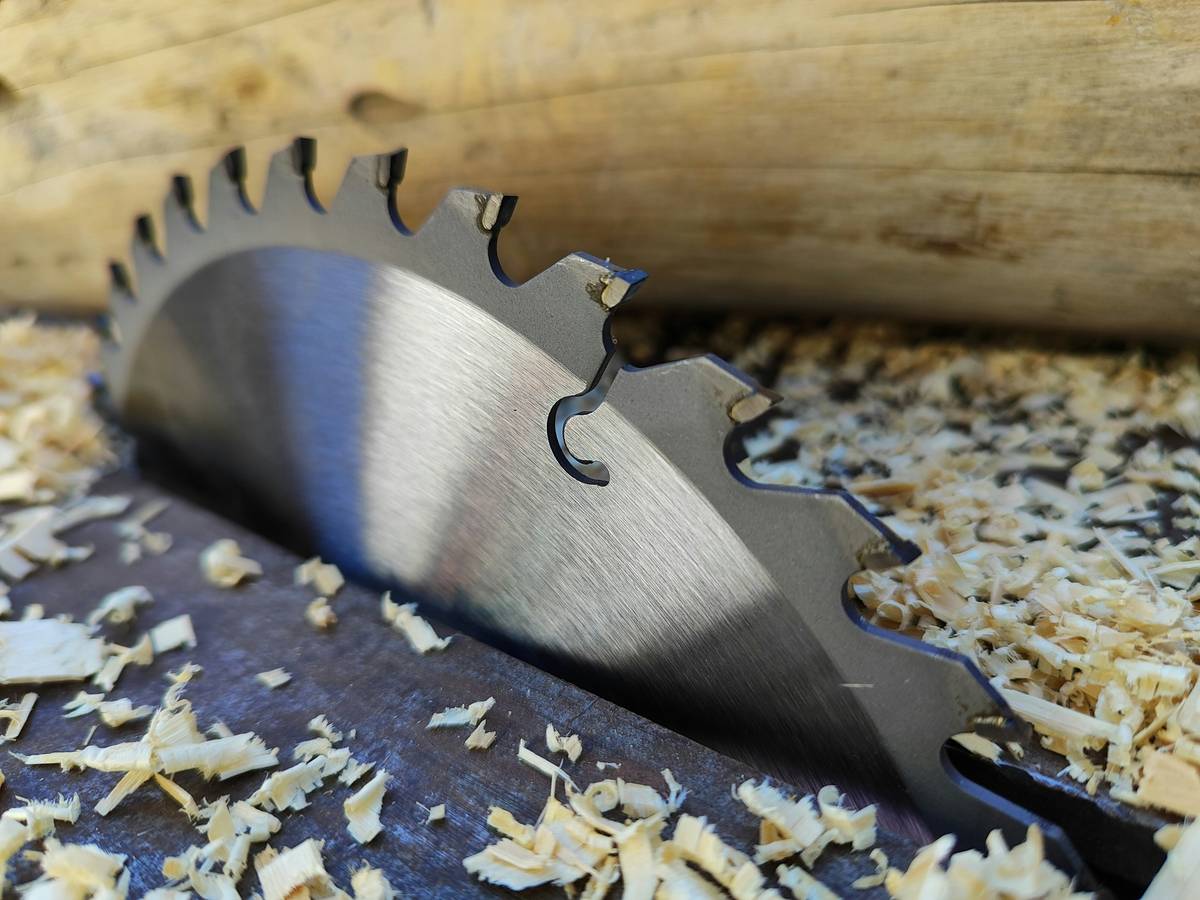
Softwood? Hardwood? Plywood with veneer? Each demands a specific blade design. Crosscut blades (60+ teeth) slice cleanly across grain. Rip blades (24–30 teeth) tear efficiently with the grain. Combo blades? Compromise. Avoid them for serious projects.
Count Teeth Like a Carpenter, Not a Calculator
More teeth = smoother cut. Fewer teeth = faster cut. The sweet spot for most DIY cabinetry or trim work? 40–60 teeth. For rough framing? Drop to 24. But don’t chase high tooth counts blindly—thicker kerf blades can overload small saws.
Install Correctly—Direction Matters
Blades spin. If yours is mounted backward, you’ll get kickback or tear-out. Look for the rotation arrow on the blade. It must match your saw’s direction. Also—clean the arbor shaft. Grit buildup causes wobble.
| Project Type | Ideal Tooth Count | Blade Type | Avg. Cost (USD) |
|---|---|---|---|
| Fine Trim / Molding | 60–80 | ATB (Alternate Top Bevel) | $25–$45 |
| Plywood / Veneered Panels | 80+ | TCG (Triple Chip Grind) or Hi-ATB | $30–$60 |
| Rough Framing / Decking | 24–30 | FTG (Flat Top Grind) | $15–$25 |
| Plastic / Laminate | 60–100 | Non-Ferrous / Fine Finish | $35–$70 |
The Industry Secret: Blade Break-In Isn’t Optional
Here’s what pro shops do—and YouTube won’t tell you: brand-new carbide-tipped blades need a “break-in.” Running full-speed into hardwood straight out of the box chips micro-edges off the tips. Instead, make 5–10 light passes through scrap wood at 50% speed. This polishes the microscopic burrs from manufacturing. Result? Longer blade life, smoother cuts, less vibration. It sounds odd—but the math is simple: $50 blade + 2 minutes of break-in = 200 flawless cuts vs. 50 rough ones.
FAQ
What’s the best saw blade for beginner DIY projects?
A 40-tooth combination ATB blade works for basic cuts in pine and plywood—but upgrade fast if you care about finish quality.
Can I use a metal-cutting blade on wood?
No. Metal blades run slower and have different tooth geometry. Using one on wood risks fire, poor cuts, and saw damage.
How often should I replace my saw blade?
When you see chipped teeth, excessive burning, or increased motor strain—even after cleaning. Don’t wait for “total dullness.”